
|
|
|
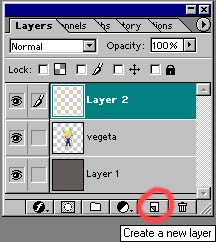
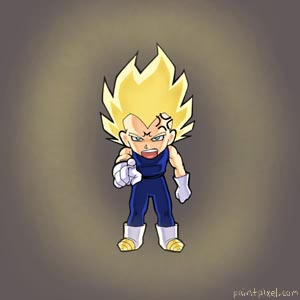
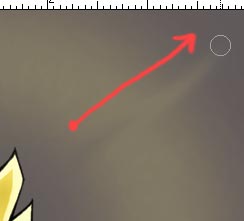
How to make "chi" effects. Photoshop tools used: Open up the picture you would like to use this technique for into Photoshop. If you have a slow computer, I suggest you flatten (Layer>Flatten all layers) all of the layers beforehand because it can really slow the process down from the memory it takes when you start smudging. This should probably be the last thing you add to your picture. I have also added a dark background so you would be able to see the ki better. 1.Create a new layer (above all layers). 2.Select the airbrush tool, and make sure the opacity setting is on a really low level (around 15 percent). Choose a large size in comparison to the picture (I wont say an exact size, since it can differ due to the size of the picture itself. The brush should also have soft edges. "Ki" color changes from person to person as well, so choose the color as you see fit. 3.Lightly surround the area you want to "power up" using the airbrush, going around the area a few times (see pic). It is ok (and recommended) that the airbrushing goes over the person as well; it gives the picture more dimension. 4.Select the smudge tool. Make sure it is on a soft setting and has a fairly large size. Using an "upward and outward" stroke, right click and hold, starting from the inside of the ki circle and moving in an upward diagonal motion, till it forms a point. Repeat the same technique throughout the entire area. 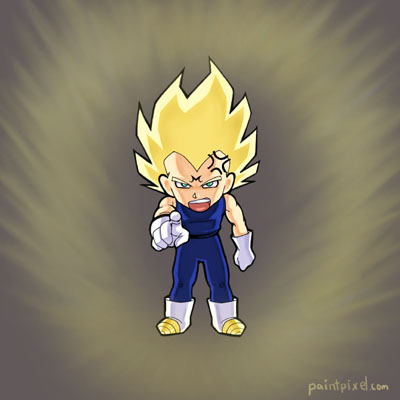
Simple enough? ^_^
|